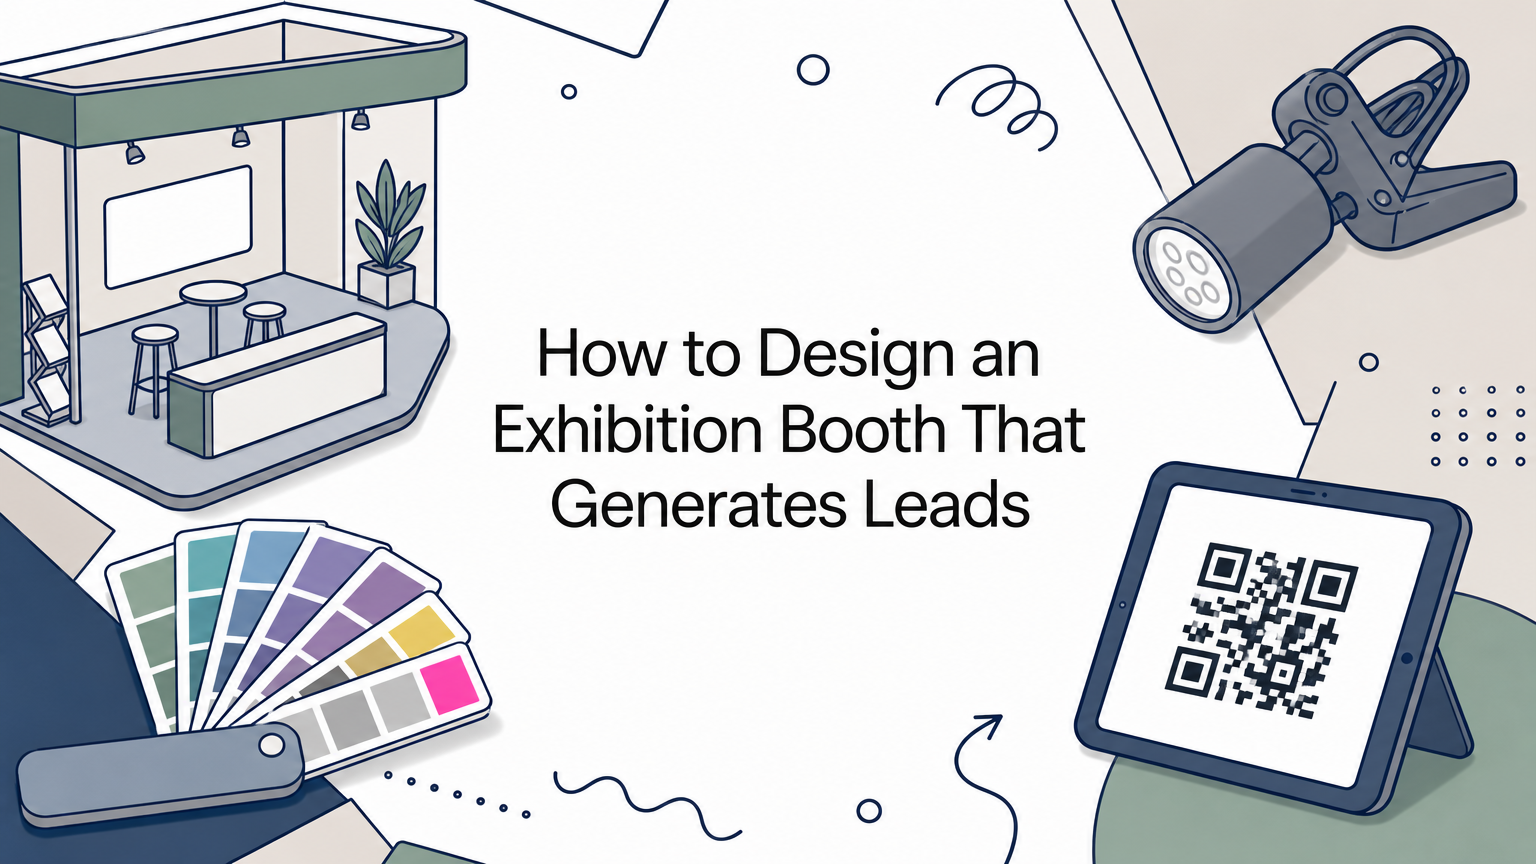
To design an exhibition booth that brings in leads, work in five steps. Set a budget, choose the layout your booth type allows, design bold and simple graphics, light the booth and build in lead capture, then brief your builder and test everything before it ships. Start with one goal and one audience, and make every choice serve them.
Most weak booths fail for the same few reasons. The exhibitor tries to say everything on the back wall, spends the budget on floor space and has nothing left for design, or discovers at install that a height limit or a shadow ruins the plan. Visitors give a booth a few seconds as they walk past, so a cluttered message loses them before your team can speak.
Exhibition Globe has followed the exhibition industry since 2017, and the booths that work share the same habits. This guide walks through each step in order, with a budget split worked out in dollars, a table of booth types, and a copy-ready brief you can send to a builder. It works whether you assemble a modular kit yourself or hire a stand design agency.
Before you sketch: goals, audience, and show rules
Before you open a design tool, lock in three inputs: one primary goal, a clear picture of who walks the aisle, and the limits in the show’s exhibitor manual. Every later step depends on them, and changing them after the graphics are printed is expensive.
Pick one primary goal
A booth that tries to launch a product, collect leads, close sales, and host meetings does none of them well. Choose the one goal that decides whether the show was worth it, then let that goal set your design priority.
| Goal | What the booth must do | Design priority |
|---|---|---|
| Lead generation | Make it easy to start a conversation | Open front, tablet or QR capture, a clear offer |
| Product launch | Make the product the focal point | Lit display, live demo, bold signage |
| Sales | Support longer talks and private meetings | Seating, a meeting corner, samples |
| Brand awareness | Be recognized from a distance | Large graphics, overhead sign, consistent color |
| Networking | Keep people talking | Open floor, comfortable seating |
Attach a number to the goal now. If you spend $9,000 in total on the show and capture 150 qualified leads, your cost per lead is $60. Without a target, you cannot tell afterward whether the booth worked. Tag every lead with the show name in your CRM so you can follow revenue for six to 12 months.
Learn your audience and the show’s limits
Study who attends before you decide what the booth says. Read the exhibitor prospectus and look through photo galleries from past editions. Note which booths drew crowds and which sat empty, and whether visitors are buyers, engineers, distributors, or students. That tells you the tone, the seating, and how technical your message can be.
Then read the exhibitor manual closely. It sets the rules your design must obey:
- Your booth size, booth type, and which sides are open
- Maximum wall and signage heights, and whether hanging signs are allowed
- Power availability and the deadline for ordering electricity
- Flooring and carpet requirements
- Lighting and rigging rules
- Install and dismantle windows
Design to the exhibitor manual, because the venue enforces it and your concept does not override it.
Step 1. Set a budget and split it
Plan on a few hundred dollars for a basic banner-and-table setup and roughly $1,500 to $5,000 for a polished 10×10 booth. Custom islands cost far more. These are planning figures, so confirm them with written quotes. If you are pricing exhibition booth design for the first time, this step tells you where the money should go.
What drives the cost of an exhibit booth
Cost rises with size, with how much is custom rather than modular or rented, and with how many sides are open. Graphics printing, lighting, furniture, screens, shipping, and installation labor each add to the total.
| Setup | Typical contents | Rough range |
|---|---|---|
| Basic inline | Retractable banner, table cover, printed collateral | Under $500 |
| Polished 10×10 | Tension fabric back wall, lighting, branded furniture | $1,500 to $5,000 |
| Island or custom build | Custom structure, overhead signs, more floor | Quote-based, significantly higher |
Booth space rental, travel, staff time, and show services such as electricity sit on top of these figures. Budget for them separately so the design money does not quietly get spent on them.
Split the budget by impact
Spend where visitors look first. Your back wall graphic and your lighting do the most visual work, so protect those lines. Here is a worked split for a $4,000 design-and-build budget on a 10×10 inline booth.
| Item | Share | Amount |
|---|---|---|
| Back wall graphic and frame | 35% | $1,400 |
| Lighting | 15% | $600 |
| Counter and branded cover | 15% | $600 |
| Furniture and flooring | 10% | $400 |
| Lead capture tools and collateral | 10% | $400 |
| Spares, shipping extras, contingency | 15% | $600 |
| Total | 100% | $4,000 |
Save money on furniture by renting it from the venue or locally instead of shipping bulky pieces. Buy fewer, better giveaways, and print only the collateral you will actually hand out. Interlocking foam tiles cost far less than custom carpet and look fine. Reuse is your biggest saving, because a modular booth that works at several shows lowers your cost per show.
Put your money into the back wall and the lighting first, and treat everything else as a place to save.
Step 2. Choose the booth type and lay out the floor
Start from the booth type in your contract, because it decides which sides visitors approach from. Then divide the floor into zones so people can walk in, talk to your team, and leave without a struggle. Good booth design for an exhibition is as much about empty floor as about displays.
Match the design to your booth type
| Booth type | Open sides | Best for | Design implication |
|---|---|---|---|
| Inline | 1 | First-time exhibitors, tight budgets | Put your main message on the back wall |
| Corner | 2 | More visibility at modest extra cost | Design for two approach angles |
| Peninsula | 3 | Demos and larger displays | Make graphics readable from three sides |
| Island | 4 | Established brands, immersive builds | Add overhead signage, treat every side as a front |
If the wall heights are fixed by the show, check your graphic proportions against them early. Many US shows, for example, limit inline back walls to about 8 feet and side walls to about 3 feet, but your manual is the authority.
Lay out a 10×10 in three zones
A 10×10 booth is 100 square feet, so every item has to earn its spot. Use three zones.
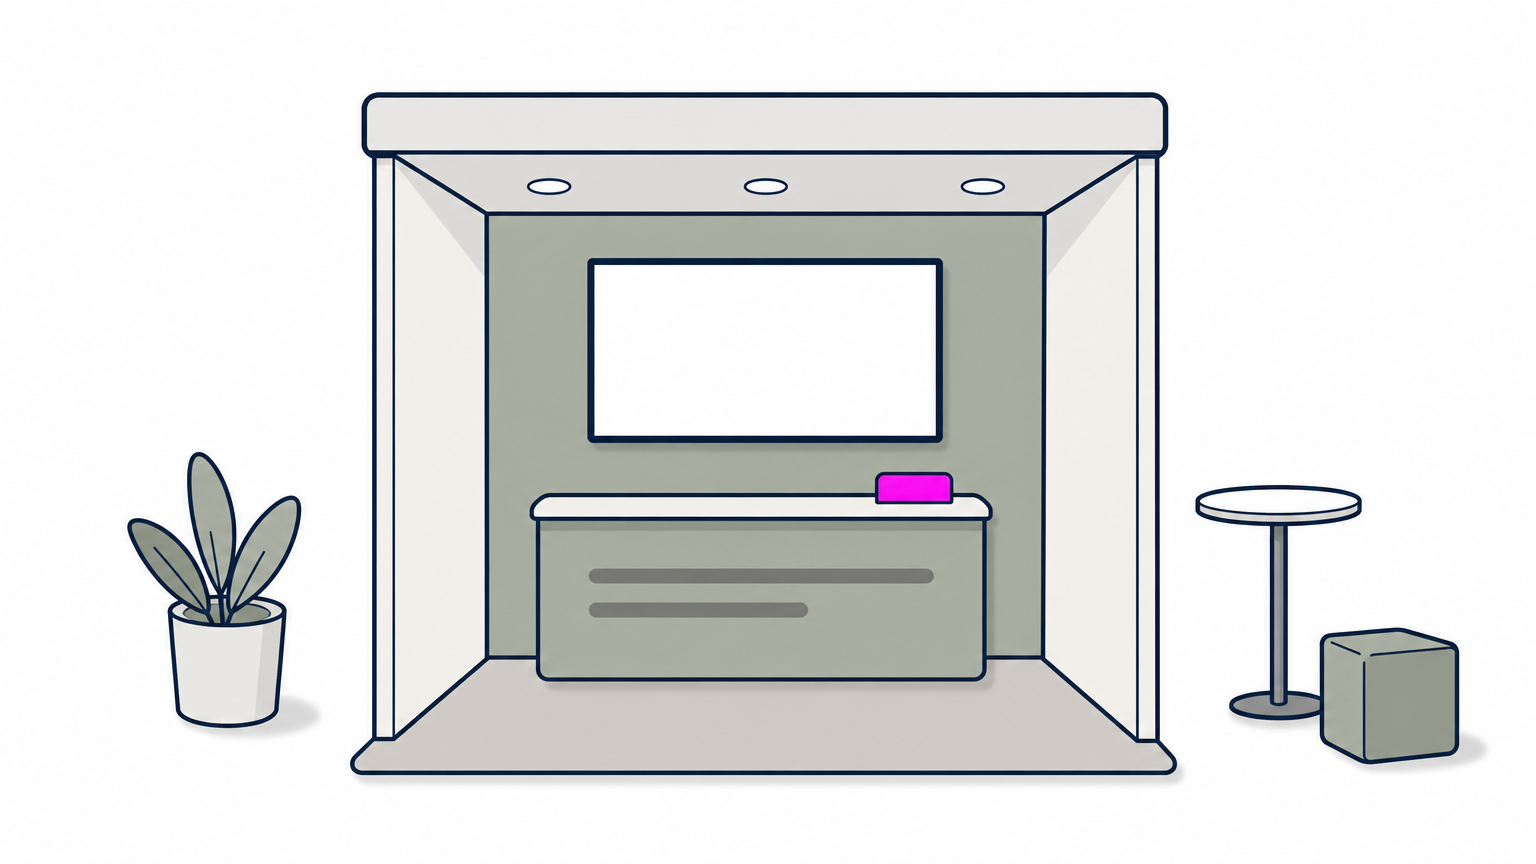
- Approach zone (front third). Keep it open. Do not run a table across the front, because it works as a barrier and visitors will not cross it.
- Engagement zone (middle). Place one demo, product, or screen here, so visitors have something to look at while your team greets them.
- Working zone (back and sides). Put the counter, storage, and a stool or two for private conversations here.
Check your furniture plan against your back wall graphic. Exhibitors often design a bold wall, then block half of it with a couch or display case. Keep seating and tables lower than the text on the wall.
Plan for access and growth
Leave aisles wide enough for wheelchairs and strollers, keep entry points clear, and offer at least one seat for visitors who need to rest. Accessibility widens your audience and costs almost nothing at the design stage. It is much harder to fix on the show floor.
Also design the booth as a modular base. Build around a 10×10 inline setup with independent graphic panels, banner stands, and table covers. When you get booked into a corner or peninsula space, you add panels instead of redesigning from scratch.
Keep the front of the booth open, because people will not walk through a barrier to reach your message.
Step 3. Design the graphics and branding
Put one short headline on the back wall, print it large, and leave plenty of empty space around it. Graphics carry most of the weight in exhibitor booth design, and restraint beats detail every time.
Build a clear sightline hierarchy
Ask what visitors see first, second, and third. In a small or mid-size booth, the back wall sits at eye level for anyone facing you, so it holds your logo, headline, and tagline. In a larger booth, add overhead signage with your logo so people can spot you from across the hall. Counter space is the last thing visitors see as they approach, so use it for secondary details like a QR code or product names.
Keep the message to what you do and why a visitor should care. A headline such as "Dust-free coatings for factory floors" does that job. Print taglines at least 3 to 4 feet high, or above waist height, so people can read them from the aisle. Leave about 40% of the graphic as empty space. A crowded wall makes your logo disappear, while open space makes it stand out.
Get color and print right
Be intentional with color by using your brand palette consistently across the booth, instead of chasing whichever color is said to attract attention. Cooler tones such as blue, green, and white signal trust and professionalism but draw less attention. Warm tones such as red, orange, and yellow grab the eye but become overbearing fast, so use them for accents.
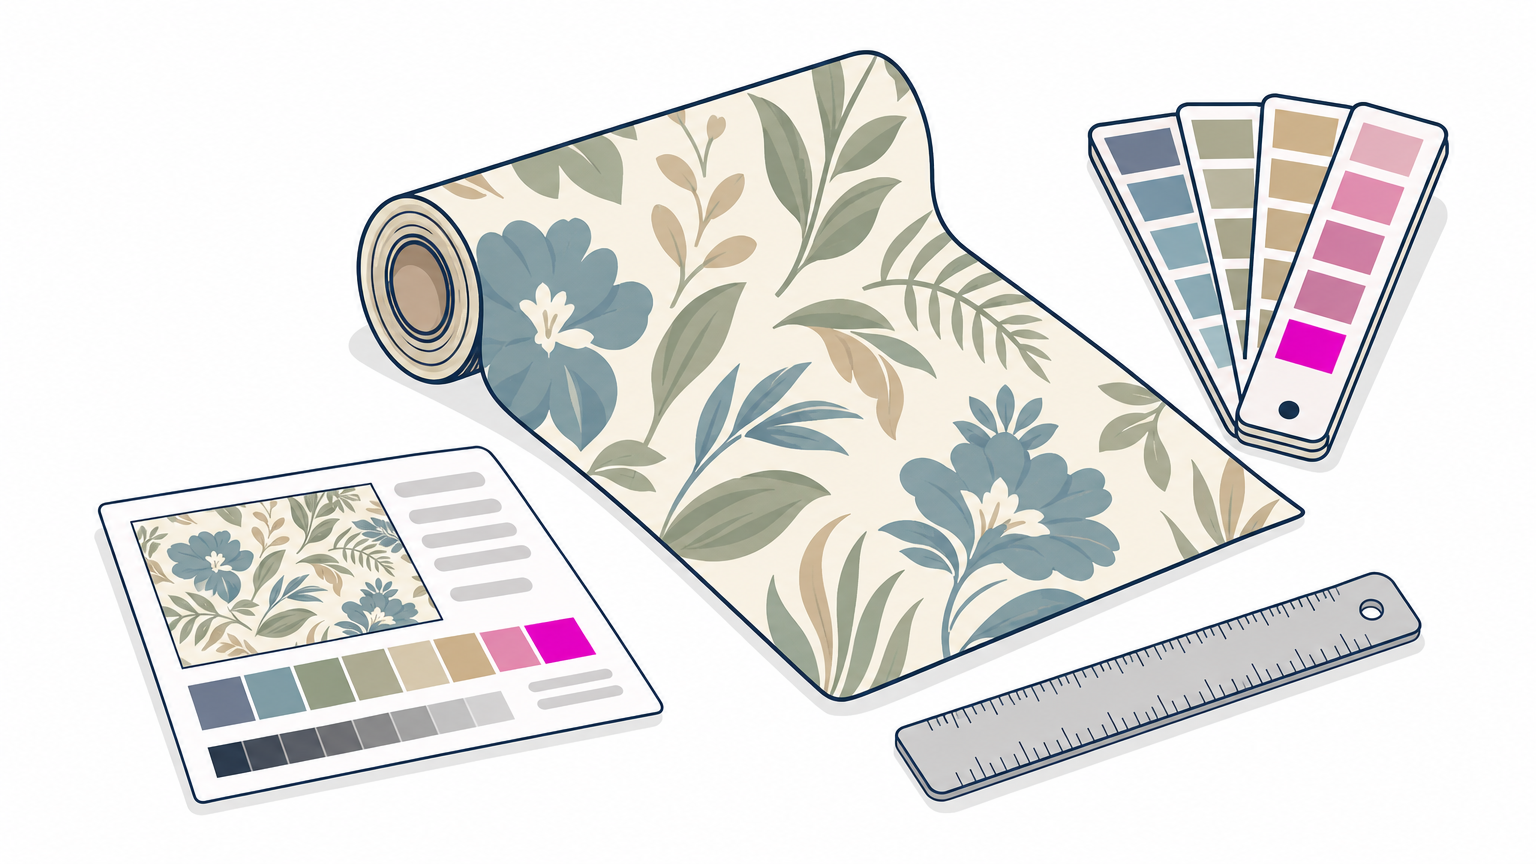
Brand colors also change between a laptop screen and a 10-foot fabric wall under venue lighting. Before you send files to print:
- Convert your palette to CMYK values and share them with the printer, because screen RGB colors do not translate directly.
- Ask for a print proof or a physical swatch before the full run.
- Supply files at the resolution your printer specifies for large formats. A graphic that looks sharp on screen can print blurry at 10 feet.
- Check contrast from a distance. Dark text on a light background, or the reverse, stays readable on a backlit banner.
Add one surprise that earns its place
For expo booth design ideas that draw a crowd, add one element that visitors do not expect, but only if it connects to what you sell. A hands-on challenge that mimics your product’s job, a live demo, or a before-and-after wall all work. A random prop does not. A good surprise makes a visitor curious, prompts the question "what does that have to do with you?", and then answers it in a way they remember.
One strong headline with plenty of empty space beats a wall full of claims.
Step 4. Add lighting and lead capture
Light the headline and the product, then build lead capture into the booth so collecting a contact takes under a minute. This step turns a good-looking event booth design into a booth that produces results.
Light the message, not the whole booth
Venue lighting is usually flat or uneven, so do not rely on it. Use spotlights aimed at your headline and your featured product, and add soft ambient light to fill shadows. Accent lighting also makes graphics look sharper and colors more vivid. Use LED fixtures, which draw less power and are often preferred by venues.
Walk through your design looking for shadows. Overhead signs and shelving can block light and leave your key graphic dim, and this is rarely caught until show day. Choose a color temperature that fits your brand, since warmer light feels inviting and cooler light feels focused.
Build lead capture into the design
Plan how you will collect contacts before you finalize the layout, so the tools have a place.
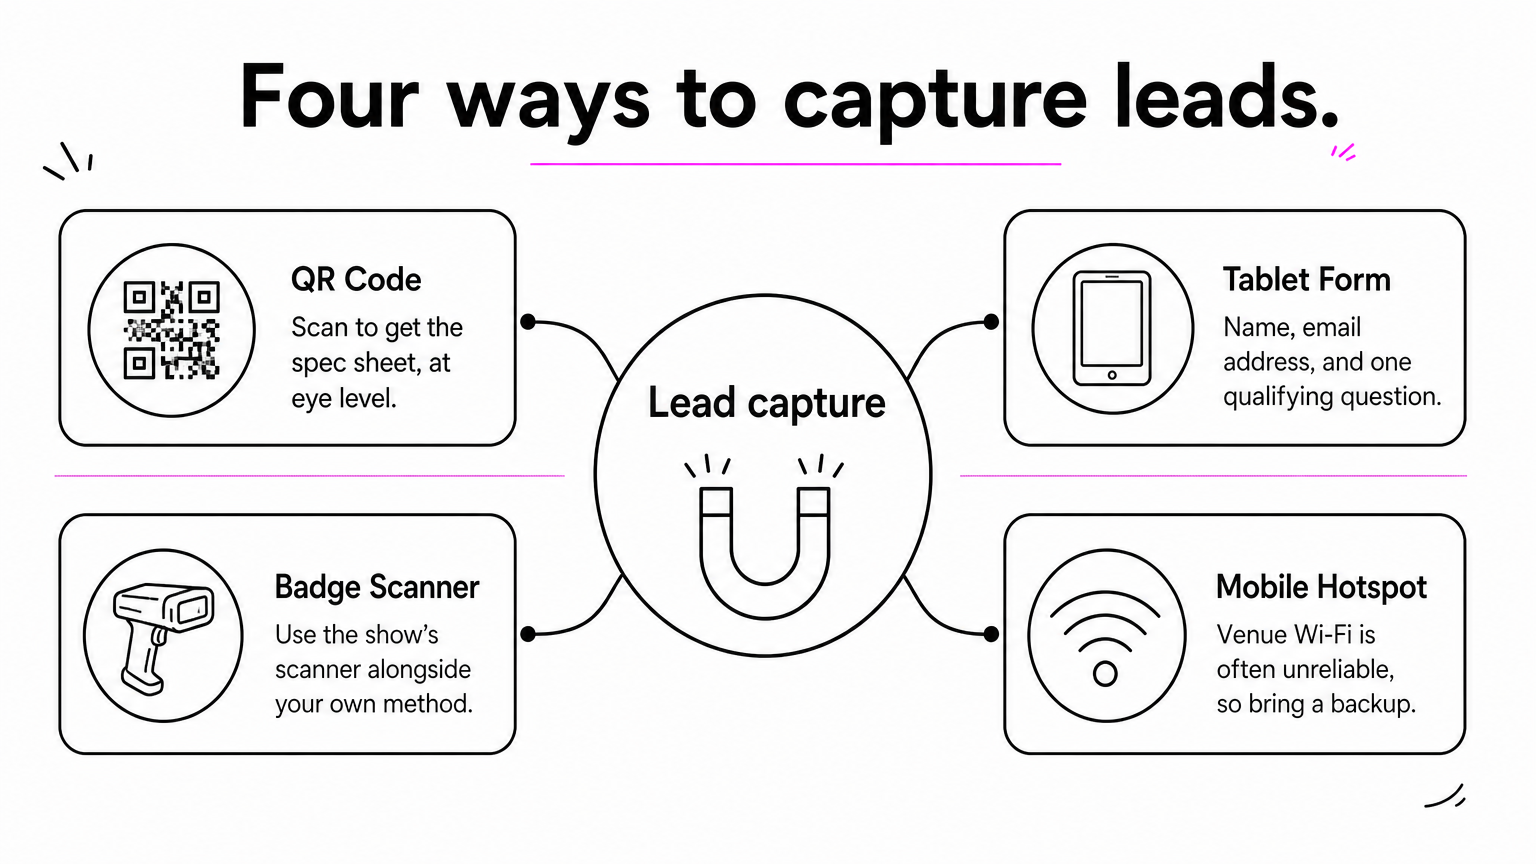
- QR code. Place a large, high-contrast code at eye level on the back wall or counter. Write an explicit call to action such as "Scan to get the spec sheet" instead of "Scan here." Leave a clear white border around it and test it before the event.
- Tablet at the counter. Use a short, mobile-friendly form with a name, an email address, and one qualifying question.
- Badge scanner. If the show offers one, use it alongside your own capture method.
- Connectivity. Venue Wi-Fi is often unreliable, so bring a mobile hotspot for anything business-critical.
Your staff are part of the design. Friendly, informed people in matching branded shirts convert passersby into leads. Brief them on the opening question, the qualifying question, and where to stand, which is beside the booth rather than behind the counter.
Decide how you will capture each contact before you finalize the layout, not on show day.
Step 5. Brief your builder and test the booth
Choose who builds the booth, send a written brief that leaves little to guess, and test every part before it ships. This final step is where good plans either survive contact with the show floor or fall apart.
Choose who designs and builds it
| Option | Best for | Trade-off |
|---|---|---|
| Modular display supplier | Small budgets, repeat shows | Limited custom shapes |
| Stand design agency or exhibit house | Custom, corner, and island booths | Higher cost, longer lead time |
| Show’s official contractor | Rented structures and on-site services | Less design freedom |
| In-house designer plus print vendor | Brands with a strong visual identity | You manage file specs and assembly |
If you are searching for an exhibition stand design agency, ask for examples at your booth size and check that they will give you a dimensioned floor plan and a 3D render. Exhibition Globe’s EG Business Listing is a directory where service providers, including companies that serve exhibitors, list their services, so you can browse options in one place.
Send a brief that produces usable renders
A vague request gets a vague design. Copy this brief, fill in the brackets, and send it with your logo files.
Show: [name, dates, venue, booth number]
Booth: [size, type, open sides]
Goal: [one primary goal and the target number]
Audience: [who attends, who you want to talk to]
Core message: [headline of 8 words or fewer, tagline]
Brand: [logo files, CMYK values, fonts]
Must-haves: [counter, demo station, storage, screen, seating]
Products on display: [items, sizes, power needs]
Lead capture: [QR code, tablet, badge scanner]
Budget: [total for design and build, split by item]
Deadlines: [design approval, print files, ship date, install time]
Show rules: [height limits, power, flooring, hanging sign rules]
Deliverables: [3D render, dimensioned floor plan, print-ready files, packing list]
Test before it ships
Run a full dry assembly if you can. Then check this list:
- Compare proofs against your brand colors.
- Confirm that no furniture blocks the back wall graphic.
- Check shadows under your lights.
- Scan the QR code from the distance a visitor would stand.
- Pack spare bulbs, cable ties, tape, extension cords, and a hotspot.
Within a week of the show, hold a debrief. Ask what visitors responded to, what confused them, and what you would change. Compare your cost per lead with the target you set in the first section. That conversation is usually more useful than the raw numbers when you plan the next booth.
A booth you have assembled and tested at home will almost always go up faster on the show floor.
Start with the goal, then build
A booth that generates leads starts with one goal and one audience, a budget spent on the back wall and lighting, an open layout that matches your booth type, a short headline with plenty of empty space, and a lead capture method that takes seconds. Then it ends with a clear brief and a test run. Skip any of those steps and the weak spot usually shows up on the show floor.
Once your booth is designed, you still have to get the right people to walk toward it. If you are an exhibitor, organizer, or vendor who wants visibility before the doors open, you can get your show news and press releases in front of exhibition professionals on Exhibition Globe.